Je sais que Beyer-Garrat a déjà produit des pages sur la construction de ce modèle. viewtopic.php?f=6&t=3993&hilit=worsley+works+billard+br+150
Je ne vais pas arriver à ses normes - Beyer-Garrat est un maître de laiton, je suis fermement dans la catégorie "homme contre laiton".
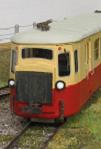
Le modèle que je vais construire sera une remorque pour aller avec le motorisé Billard BR 150 que je l'ai déjà construit (les besoins intérieurs de finition si).
Je vais poster des photos des différentes étapes de la construction que je vais le long. Je l'espère qu'ils vont vous donner quelque chose à méditer sur et peut-être aider à faire le travail.
Meilleurs voeux,
Paul
Francais par Google Translate
Hi,
I know that Beyer Garratt has already produced pages on construction of this model.
viewtopic.php?f=6&t=3993&hilit=worsley+works+billard+br+150
I will not achieve his standards - Beyer Garratt is a master of Brass, I am firmly in the "Man versus brass" category.
The model I'm constructing will be a remorque to go with the motorised Billard BR 150 that I have already constructed (the interior needs finishing though).
I will post photographs of the different stages of construction as I go along. I hope that they will give you something to ponder on and maybe help with getting the job done.
Best wishes,
Paul
 Vu 12226 fois")


 Vu 12214 fois")
 Vu 12106 fois")
 Vu 12106 fois")
 Vu 12025 fois")
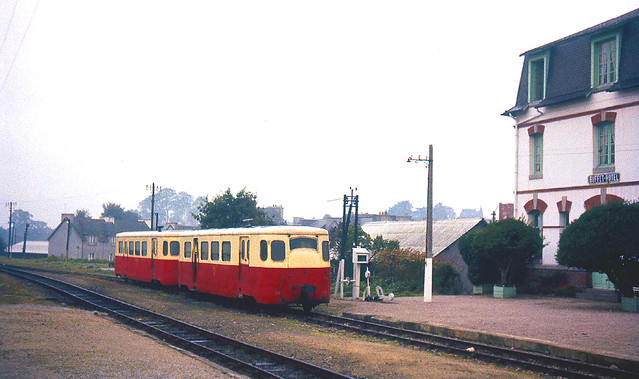
 et il doit ressembler à l'motorisé Billard BR150 que je l'ai déjà construit. Il est la courbe par les fenêtres qui est techniquement difficile. Lorsque Annascaul visite une exposition beaucoup de gens reconnaissent l'autorail Billard comme il doit être assez près correcte.
 Vu 11885 fois")

 Vu 11865 fois")
 tout est arrondi et c'est bien là le problème avec les Billard
  Je vais essayer de poster demain les photos de detail prise au MTVS de la R5


 Vu 11853 fois")
 Vu 11853 fois")

 je glisse l'une de ses photos qu'il m’avait envoyé lors du montage
  Vu 11820 fois")


 .
. .
.